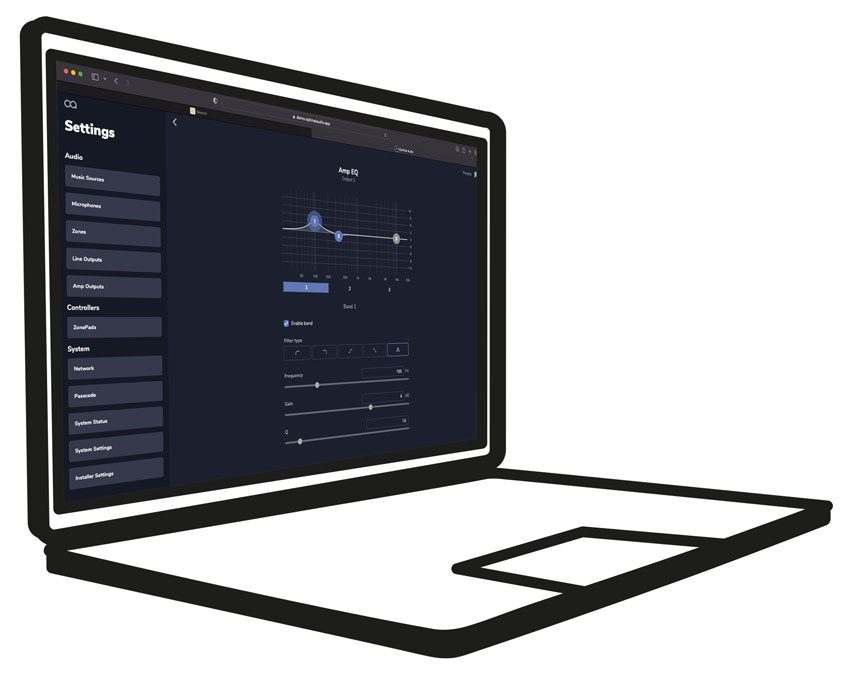
WebApp Desktop Demo FAQs

Yes, WebApp Desktop Demo is the same as the latest version of WebApp and you can view the user guides here [Downloads]
The demo package includes an instance of the Chrome browser and can take up to 30 seconds on some machines to start up.
Before doing the below, ensure that WebApp Desktop demo is closed and follow the steps below:
On a Windows navigate to:
- C:\Users\youruserlogin\AppData\Roaming\WebAppDesktopDemo\test_server\user
- Delete the folder named “clientConfig”
On a Mac navigate to:
MacOS\ youruserlogin\Library\Application Support\WebApp Desktop Demo\test_server\user
- Delete the folder named “clientConfig”One you have done this double click on the WebApp Desktop Demo installer file and you are good to go.
Yes. There is a simulated streamer attached to input 1. If you have a Bluesound Professional Device on your network, you can add this and control it via line input two, three or four.
Yes, to trigger presets navigate to the Routines section. Create a routine if you haven’t already and within that routine you will be presented with information regarding IP address and port number.
The meters are simulated as part of WebApp Desktop Demo to show the user the metering functionality.
WebApp Desktop Demo has been released with zone and source names to simulate a popular application.
Yes, once you have completed your system design in WebApp Desktop Demo, navigate to Settings > Installer Settings and then click on “Download Current User Settings”. This file can then be uploaded to a Zone unit.
Navigate to Settings > System Settings and select the product that you require from the “Product Variant” drop down menu. You have the options to select: Zone 4, Zone 4P, Zone 8 or Zone 8P.
Yes, you’ll need to make sure that the Zone unit in the field is updated to WebApp 1.2 before downloading the system file. When uploading to WebApp Desktop Demo it will auto adjust to the product variant and bring all the settings into WebApp Desktop Demo. You can now edit, make changes and export as required.
Navigate to Settings > Audio > Zones and then scroll to the Visibility section. Select “hide zone for users”. Repeat across all unwanted Zones. This will ensure that the system diagram only displays the visible zones.
Navigate to Settings > Line or Amp Output > Source > Select “None”. This will ensure that your system diagram is clean and tidy, avoiding confusion when handing to an installer.